


WordPress logo on login page can be very boring, especially if you always see it every day. You could just use a plugin to replace it, but it would be more interesting if you change it yourself manually, of course with a bit of hacking on your WordPress code. Don’t worry young padawan, it’s super easy!.
In this simple step-by-step tutorial, I will guide you to change the WordPress logo on your login page. Enjoy!
1. Put your custom logo image to your /your-wp-theme/img folder.
2. Use the login_enqueue_scripts hook to insert CSS into the head of the login page so WordPress can loads your custom logo. Put this code into your /your-wp-theme/functions.php :
// Custom logo login page
function my_login_logo() { ?>
<style type="text/css">
body.login div#login h1 a {
background-image: url(<?php echo get_stylesheet_directory_uri(); ?>/img/your-custom-logo.png);
background-size: 200px auto;
background-position: center;
width: 300px;
height: 70px;
padding-bottom: 110px;
}
</style>
<?php }
add_action( 'login_enqueue_scripts', 'my_login_logo' );
3. Change “your-custom-logo.png” with your image file. You can also adjust size, width, height value to fit your need.
4. Open your login page, and press ctrl+shift+R, and see your shiny logo… 🙂
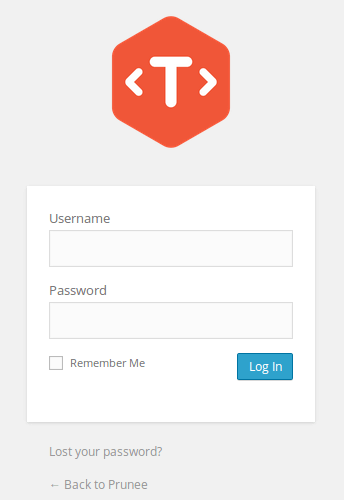
Custom WP Login
